How Are Solar Panels Installed
How Are Solar Panels Installed
How are solar panels installed in the UK? This comprehensive guide will take you through the entire solar panel installation process, from the initial preparation and site assessment to mounting the panels and connecting the electrical components. By the end, you’ll have a clear understanding of what to expect during a solar panel installation in the UK.
Key Takeaways
- A thorough site assessment ensures the structural integrity of your roof and optimal solar panel placement for maximum energy production.
- It is recommended to hire professional installers for safety and efficiency, including necessary scaffolding and qualified electricians for electrical connections.
- Regular maintenance and monitoring of solar panels enhance their efficiency, extend their lifespan, and ensure consistent energy generation.
Preparing for Solar Panel Installation
Preparing to install solar panels involves meticulous planning, focusing on on-site assessment, installing solar panels, planning permission, and system design. These steps ensure your solar panel system meets your needs and the installation goes smoothly.
Assessing the roof’s condition, reviewing planning regulations, and designing the system set the stage for a successful solar panel installation.
Site Assessment
A thorough site assessment is the cornerstone of the solar panel installation process. This involves a professional surveyor evaluating the integrity of your roof and rafters to ensure they can support the weight and stress of the solar panel system. The surveyor will check for any structural concerns, as well as the roof’s orientation, incline, and available space. These factors are pivotal in determining the potential energy production and overall effectiveness of the solar energy system.
During the site assessment, factors like shading, roof angle, and orientation (ideally south-facing) are examined to identify the best panel locations for maximum sunlight exposure and minimal obstructions.
Addressing these factors ensures the optimal performance of the installed solar panels.
Planning Permission
Navigating the regulatory landscape is a crucial part of the installation process. Typically, planning permission isn’t required for most residential properties since solar panel installations are often considered permitted development.
However, verifying local regulations is important, especially if your property is in a conservation area, listed building, or involves ground-mounted panels, as these may require planning permission.
System Design
Designing your solar panel system determines its efficiency and performance. This involves calculating your home’s electricity needs by summing up the wattage of all appliances and their usage duration. An average solar system requires about 15 to 18 panels, but this can vary based on specific energy requirements and solar panel cost.
Installers consider roof space orientation, shading, and technology used to mitigate shading. Panels are typically mounted between 18 and 36 degrees to maximise sunlight exposure.
This design ensures the system is optimised for effective energy capture.
Setting Up for Installation

Safety and meticulous preparation are crucial when setting up for solar panel installation in the UK. This process involves erecting scaffolding and ensuring safe roof access due to the heights and electrical components involved. Technicians also require access to the loft, consumer unit, and cable routes to ensure a seamless installation.
Although it’s technically possible to install solar panels on your own, it’s strongly advised to hire a certified installer in the UK to ensure both safety and efficiency.
Scaffolding Setup
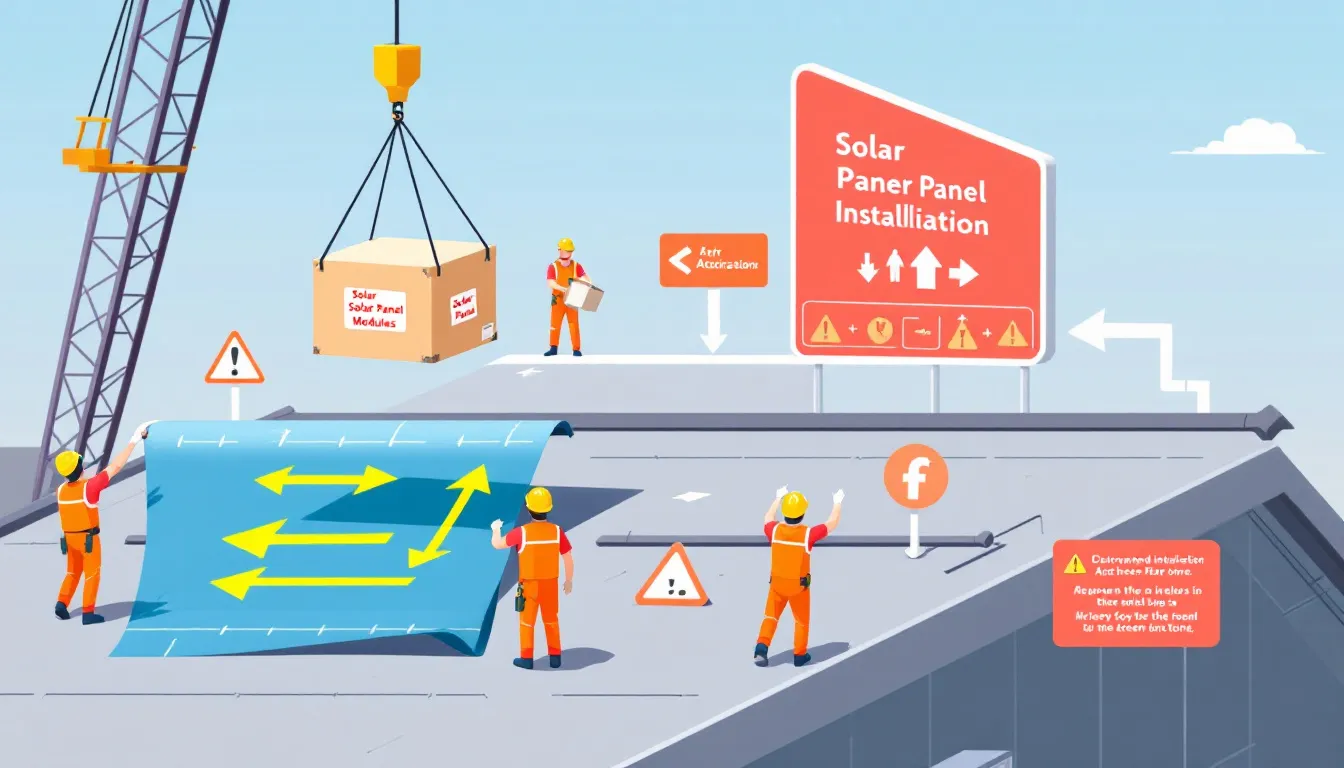
Scaffolding is essential for safe and stable roof access during the solar panel installation process. It generally takes about a day to set up and is erected four or five days before the installation begins.
The scaffolding allows all installation activities to be performed safely and efficiently, preventing accidents and ensuring a smooth workflow.
Kit Delivery
Prior to the arrival of the installation team, it is important to clear a space to store the equipment. Guiding workers to the installation area will streamline the process and prevent delays.
Proper preparation ensures a smooth and efficient installation process.
Installing the Solar Panels

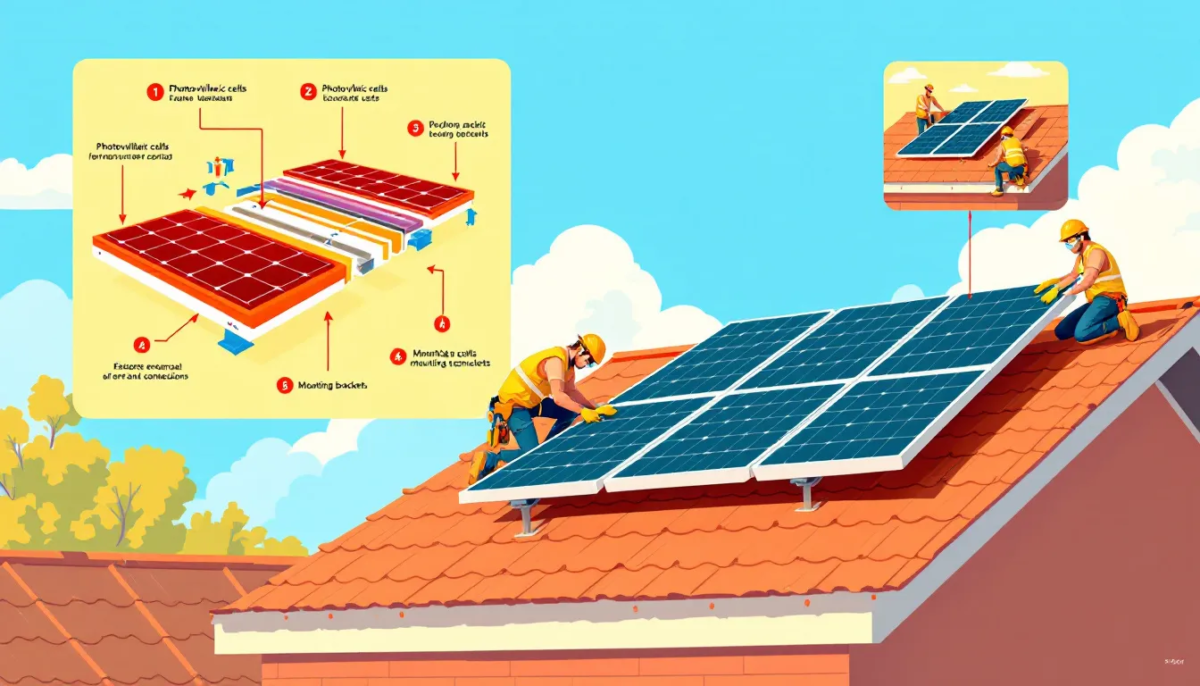
The core of solar panel installation in the UK involves securely mounting the panels onto the roof using a solar panel mounting system. This begins with installing mounting brackets secured to rafters, followed by attaching the panels when solar panels are installed and solar panels installed with a rail system.
With scaffolding in place, the panel installation typically takes less than a day, ensuring a swift transition from setup to completion.
Installing Roof Anchors
The first step is securing roof anchors to the rafters by lifting roof tiles to fix the anchors, ensuring maximum stability for the mounting system. Properly installed roof anchors are crucial for the safety and longevity of the installation.
Securing the Solar Panel Mounts
After the anchors are secured, the mounting system is attached to them. The mounts provide a stable foundation, with panels positioned at an optimal tilt angle (typically between 18 and 36 degrees) to maximise sunlight exposure.
A rail system is used to attach the panels to the mounting brackets, ensuring secure support.
Mounting the Solar Panels
Once the mounting system is secure, the panels are positioned. This involves lifting roof tiles, attaching mounting brackets to rafters, replacing tiles, and attaching the rails. The panels are then locked into the rails, ensuring they are secure and optimally positioned.
Regardless of vertical or horizontal orientation, the panels must be properly aligned and tightened to withstand various weather conditions.
Connecting the Electrical Components
The next phase involves connecting the electrical components to ensure the panels can generate and supply electricity. This includes wiring the panels, installing the inverter, and connecting everything to the consumer unit.
Each step requires precision and care for safety and optimal performance.
Wiring the Solar Panels
Wiring the panels involves using MC4 connectors for secure, weatherproof connections. The system typically requires three cables, and household electricity should be switched off before starting. The DC cable transfers electricity from the panels to the inverter and should be run through the roof into the loft by lifting tiles and feeding between felt sections to avoid damage.
Solar panels often come pre-wired, but the DC cable length must be carefully considered to prevent fire hazards. Professional installation ensures safe and efficient system operation.
Installing the Solar Inverter
The inverter converts DC from the panels into AC for home use and should be installed near the main electrical panel, not on the roof. It typically takes 4 to 6 hours to install and must be in a well-ventilated area to prevent overheating.
Connecting to the Consumer Unit
The final step involves linking the inverter to the consumer unit via a circuit breaker for safe integration. A generation meter is typically installed alongside the inverter to monitor electricity generation.
The AC cable is routed from the inverter, either through the roof or outside, allowing for performance monitoring from a computer or smartphone.
Optional: Adding a Solar Battery

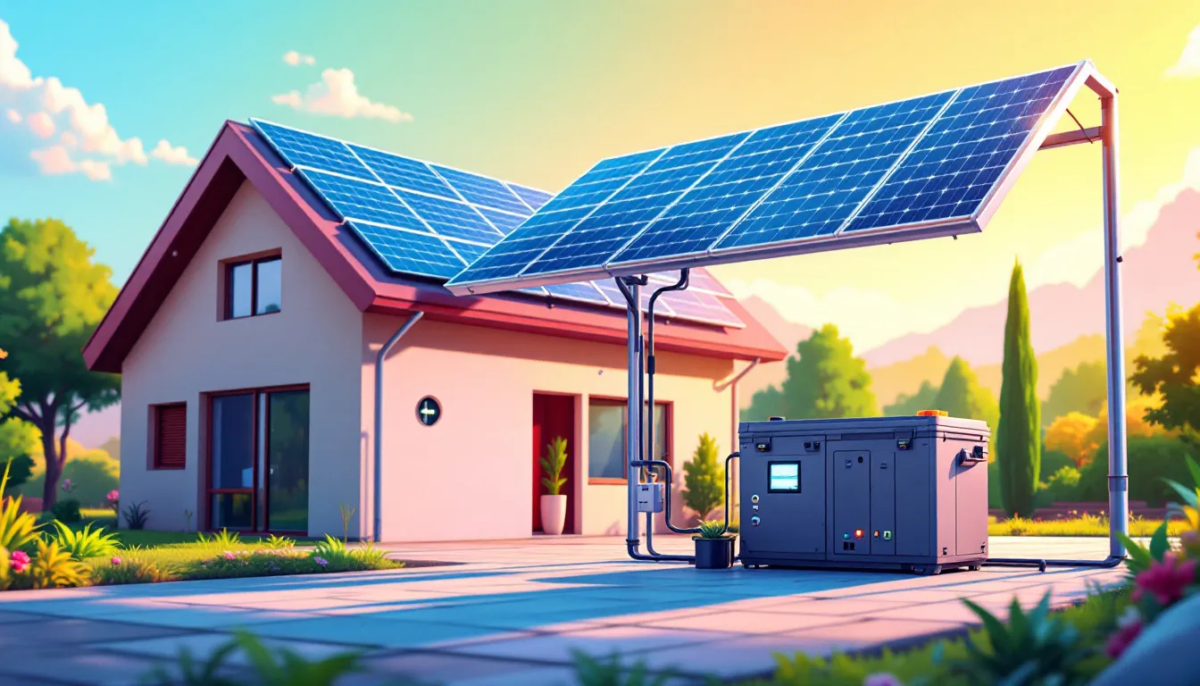
Adding a solar battery enhances the system’s efficiency and reliability. Solar batteries store excess solar energy generated during the day for use at night or during cloudy periods, reducing reliance on the National Grid and enhancing self-consumption. Additionally, solar power can further improve energy independence and store excess solar energy.
This is especially beneficial in areas prone to power cuts, providing a reliable backup power source.
Benefits of Solar Batteries
Solar batteries reduce energy bills by using stored energy instead of grid power. They provide backup power during power cuts and ensure a consistent supply during low sunlight periods, like cloudy days or nighttime. With a lifespan of 10-12 years, solar batteries offer long-term benefits and enhance system efficiency.
Integrating a solar battery increases your home’s energy independence. Storing excess energy allows full use of the electricity generated, even when the sun isn’t shining. This maximises your investment and contributes to a sustainable and resilient energy infrastructure.
Connecting the Solar Battery
Proper installation involves connecting solar batteries to the inverters for seamless energy use during low sunlight periods. This allows the battery to store excess energy for later use, ensuring a continuous power supply.
A well-integrated battery system significantly enhances the efficiency and reliability of your solar energy setup.
Testing and Final Checks
The final phase involves rigorous testing and checks to ensure everything is working properly. This confirms the operational efficiency of the entire system, ensuring all components are securely installed and functioning as intended.
System Testing
System testing starts by switching the power back on and monitoring each part of the system. This involves checking electrical connections, installation security, and compliance with design specifications. Once validated, the system is connected to the grid, enabling solar electricity generation. A generation meter tracks electricity production, and periodic checks ensure the panels remain free from shading obstacles.
Routine checks identify issues early, such as damage or dirt accumulation, which can hinder performance. Regular inspections ensure efficient operation and continuous clean, renewable energy production.
Monitoring Performance
Regular monitoring and maintenance ensure the system meets energy production expectations. Services like Sunsave Plus offer 24/7 expert monitoring, issue tracking, and repairs, addressing problems promptly and maintaining peak performance.
Maintenance Tips for Your Solar Panels

Proper maintenance significantly extends the lifespan and efficiency of your solar panels. Regular evaluations and cleaning are crucial to maintaining optimal performance and ensuring maximum energy generation.
Regular Inspections
Regular inspections ensure your panels remain efficient and undamaged. Periodic checks identify small issues before they become significant problems, saving time and money. These inspections maximise your investment by ensuring optimal performance throughout the system’s lifespan.
During inspections, look for signs of wear like cracked panels, loose connections, or rusting. Also, check for dirt and debris accumulation, which can block sunlight and reduce efficiency.
Regular checks help maintain your panels’ warranty by meeting maintenance requirements and can boost your property’s resale value by demonstrating a well-maintained system.
Cleaning Your Panels
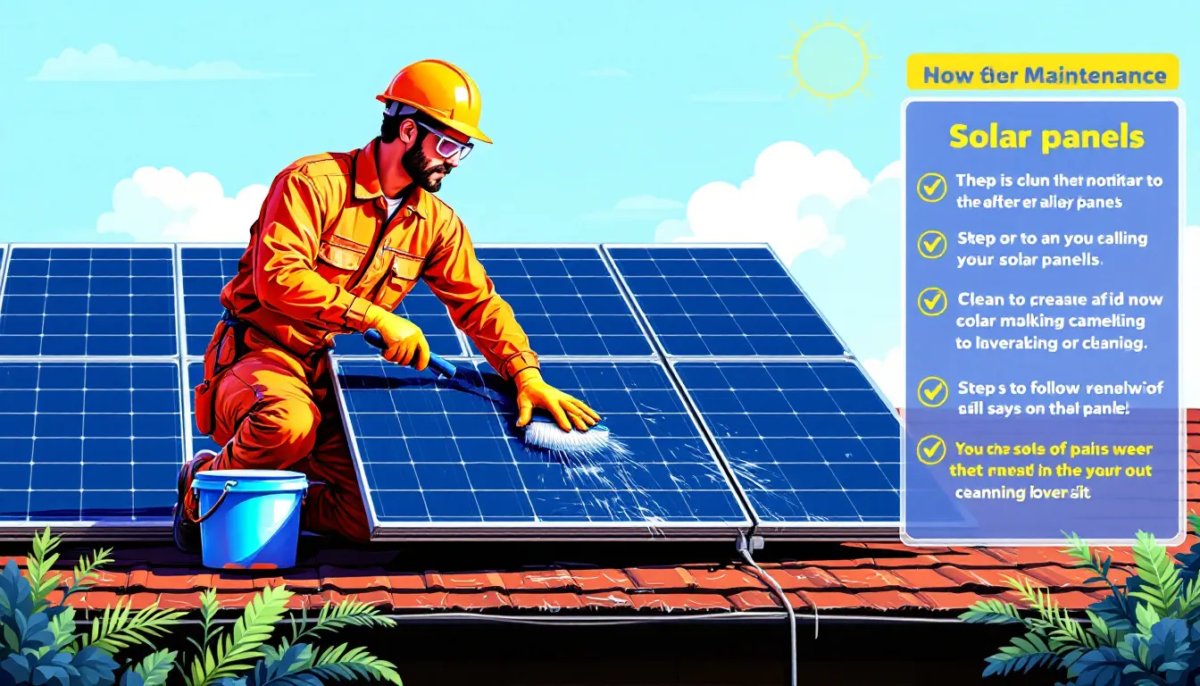
Cleaning your solar panels is essential to maintain their efficiency over time. It is recommended that the panels be cleaned when they are wet to facilitate the removal of dirt and grime. Using a long-handled wiper allows for safe cleaning without the need to climb onto the roof, while a soft brush with biodegradable soap ensures the panels are cleaned without scratching.
It’s best to clean solar panels in the morning or late evening to avoid heat-related damage and to use non-abrasive materials to prevent scratching the surface. Consulting the manufacturer’s instructions is essential for safe and effective cleaning, and professional cleaning might be preferred for roof-mounted panels due to safety concerns.
Automated cleaning systems can also help maintain efficiency by regularly removing dirt and debris.
Summary
Installing solar panels is a comprehensive process that begins with thorough preparation and ends with detailed testing and maintenance. From site assessment and planning permission to system design and the actual installation, each step is crucial for ensuring the system’s efficiency and longevity. By following best practices and engaging professional installers, homeowners can maximise the benefits of solar energy, reduce electricity bills, and contribute to a sustainable future.
Solar panel systems, when properly installed and maintained, can provide reliable, clean energy for decades. By understanding the installation process and the importance of regular maintenance, you can ensure that your investment in solar energy continues to pay off. Embrace the power of the sun and take the first step towards a greener, more energy-efficient future.
Frequently Asked Questions
Do I need planning permission to install solar panels on my home?
You typically do not need planning permission to install solar panels on your home, as they are usually classified as permitted development. However, if your property is a listed building located in a conservation area or if you plan to install ground-mounted panels, exceptions may apply.
How many solar panels do I need for my home?
You typically need about 15 to 18 solar panels for an average home, but this can vary based on your specific electricity usage and available roof space. Assessing your energy needs and roof conditions is crucial for an accurate estimate.
What is the role of the solar inverter in the installation process?
The solar inverter is essential as it transforms the direct current (DC) from solar panels into alternating current (AC) for home use. It should be placed close to the main electrical panel in a well-ventilated location. Proper installation ensures optimal performance of your solar energy system.
How often should I clean my solar panels?
You should clean your solar panels once or twice a year, adjusting them based on local environmental conditions. For optimal results, clean them when wet using a soft brush and biodegradable soap.
What are the benefits of adding a solar battery to my solar panel system?
Incorporating a solar battery into your solar panel system enables you to store excess energy for nighttime use or cloudy days, ultimately decreasing your dependence on the grid and ensuring backup power during outages. This adds both energy security and efficiency to your energy management.


